Fonts For Photoshop On Mac
Deciding on an alternative for Photoshop depends a lot on what you use Photoshop for. There are five apps that I'll give you some information about that are trying to compete For those used to doing things in Photoshop, but who are interested in checking out this free software, look into Gimpshop. For example, Microsoft Office ships with a selection of fonts, but Office fonts can be used by any Mac application. The phrase System Font is important for all Mac users to understand. A System Font is a font that ships with the OS and is located in the / System / Library / Fonts / folder.
Adobe Photoshop is one of the best image editor software programs all over the world, used by PRO and beginners alike. Adding content or text to images and photos is a popular feature of the software, and it provides a wide variety of font styles as well as tapping into the “Fonts” file on the computer of your Windows or Mac. So, how to install fonts in Photoshop? This has been a popular problem among users and that is what we are going to help you here. In this tutorial, OMG!HowTo will show you how to add fonts to photoshop on Windows or Mac. Photoshop works with same fonts which are installed on your OS. Consequently, there is no need to install fonts separately in photoshop.
Just install fonts on your OS and use them in Photoshop program. Let discover how to install fonts. Free ms word for mac.
How to add new fonts to Photoshop Step 1: First, let find and download a font which you want to use. You can see a lot of websites that get free font. In this article, we would be using and download “Gabrielle” as the test font. Step 2: Click Download button on the right the Font which you need. Then, the new font file with format (.zip or.rar ) will be downloaded on your hard drive. In this tutorial, using Google Chrome browser and when the file was downloaded. It’s will be saved to Download folder.
To open Download folder, click on the Arrows icon and click Open.
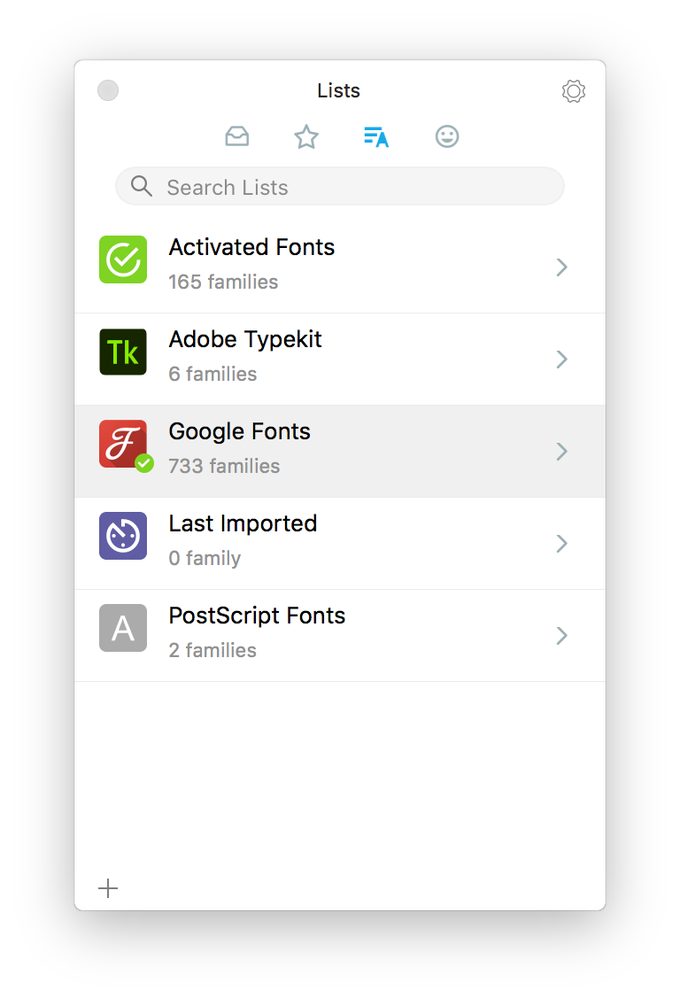
Share on Facebook Tweet this Share Bill Roberson/Digital TrendsFinding a font you like can be tough — especially if you work in marketing or graphic design and regularly need to locate the perfect font for your project. Fortunately, MacOS (or on iOS, ) has greatly improved the way you can quickly download, preview, and enable new fonts for.
Here’s how to install fonts on a Mac, and quickly organize them. Downloading the right fonts Step 1: Look for the font that you need. There are many, many sources of fonts online, from casual lists to (or you could just decide to ). Most of the lists are free, although some designer fonts come with a charge. Step 2: Make sure the font you choose is compatible with MacOS.
You can tell by looking at the file name. Mac supports TrueType, or “.ttf” files and well as OpenType or “.otf” files. Fortunately this covers the majority of downloaded fonts. However, you will not be able to use PC bitmap or “.fon” fonts, which are not compatible. How to add all contacts to outlook address book outlook for mac 15.28. Presumably, will work just fine.
Step 3: You may want to double-check the website reviews to make sure downloads can be trusted — always use a trusted website before you choose to download anything! If everything looks good, download the font file that you want. This will add a new file (potentially compressed) to your Mac download section.