How To Customize Workspace In Autocad For Mac
This is a guest post by (). Word to the Wise: Workspaces. Workspace definition (per the Help menu): Workspaces are sets of menus, toolbars, palettes, and ribbon control panels that are grouped and organized so that you can work in a custom, task-oriented drawing environment. Wondershare video converter ultimate for mac crack.
Create or Modify a Workspace Using the Customize User Interface Editor In the Customize User Interface (CUI) Editor, you can create or modify workspaces with precise properties associated with the application and drawing windows, and user interface elements (Quick Access toolbar, toolbars, menus, ribbon tabs, and palettes).
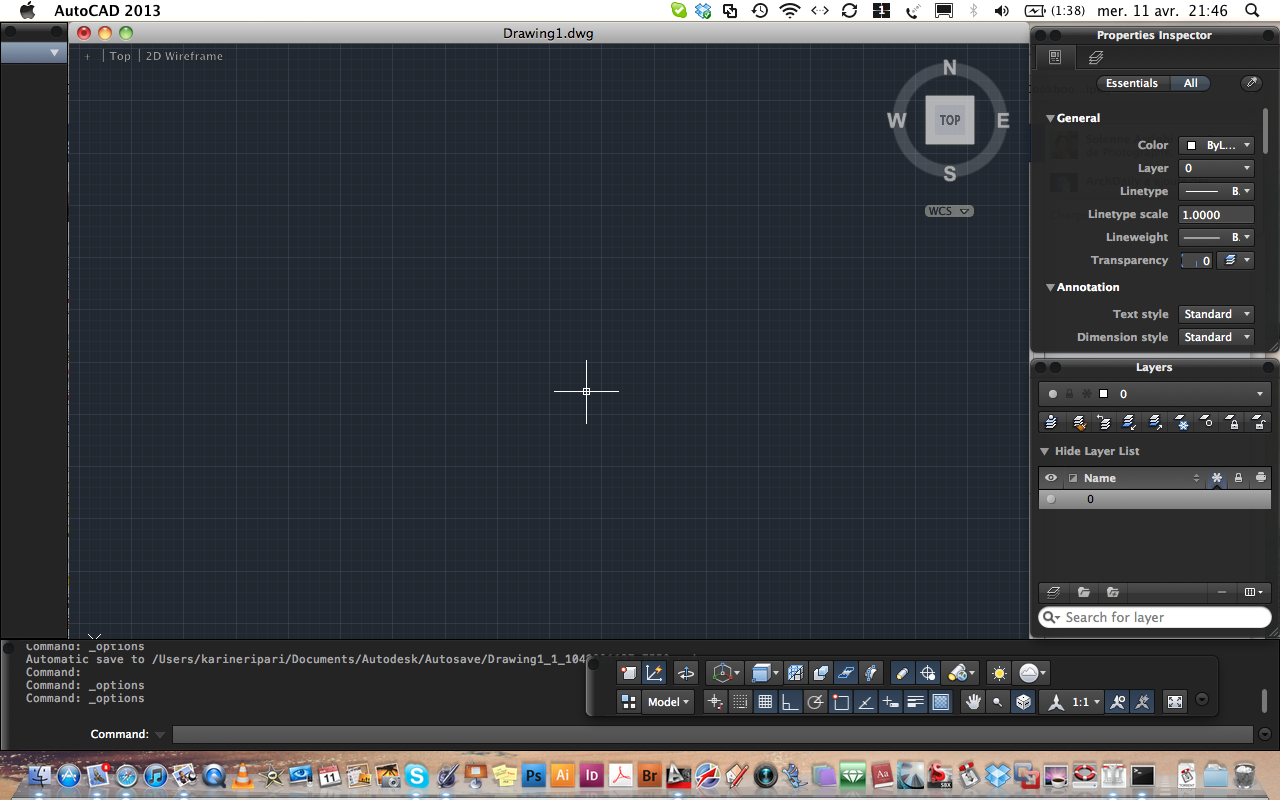
The Workspace named 2D Drafting & Annotation provides several Ribbon panels and tabs containing common features needed for 2D drawings. The Workspace named 3D Modeling provides Ribbon-based 3D-related features. Both of these are good starting points. You can then refine the Ribbon a bit more, then save it as another Workspace. GOLD STAR TIP: At the office, if you have already ‘arranged’ your Ribbon, I would recommend that you first create a workspace of your current arrangement so you can return to that condition when you’re finished ‘experimenting’. How to Create a Workspace 1. To save your current workspace by name, click the Workspace Switching icon on the right half of the status bar, then click Save Current As.
Enter a name for the current workspace, then click Save. Quandary: How do you update a Workspace with the changes you have made to the Ribbon that you now want to keep? MAJOR, MAC-DADDY MEMO: If you have created a workspace after configuring your Ribbon, PLEASE save your Workspace before you open the CUI [Customize User Interface] because when you close the CUI and save your changes, AutoCAD uses the most recently saved condition of your workspace. How to Update Your Workspace 1. Make the necessary changes and position edits to your Ribbon. On the Status bar, click Workspace Switching, then click Save Current As.
In the drop-down list, choose the name of the workspace for the changes, then click Save. When you see the notice regarding replacing the workspace that already exists, click Replace. You will find this tip and a couple hundred other insights in The AutoCAD Workbench, available from Michael’s website, If you would like to submit a guest post please for details.
This is a guest post by (). Word to the Wise: Workspaces. Workspace definition (per the Help menu): Workspaces are sets of menus, toolbars, palettes, and ribbon control panels that are grouped and organized so that you can work in a custom, task-oriented drawing environment. The Workspace named 2D Drafting & Annotation provides several Ribbon panels and tabs containing common features needed for 2D drawings. The Workspace named 3D Modeling provides Ribbon-based 3D-related features. Both of these are good starting points. You can then refine the Ribbon a bit more, then save it as another Workspace.
GOLD STAR TIP: At the office, if you have already ‘arranged’ your Ribbon, I would recommend that you first create a workspace of your current arrangement so you can return to that condition when you’re finished ‘experimenting’. How to Create a Workspace 1. To save your current workspace by name, click the Workspace Switching icon on the right half of the status bar, then click Save Current As. Enter a name for the current workspace, then click Save. Quandary: How do you update a Workspace with the changes you have made to the Ribbon that you now want to keep? MAJOR, MAC-DADDY MEMO: If you have created a workspace after configuring your Ribbon, PLEASE save your Workspace before you open the CUI [Customize User Interface] because when you close the CUI and save your changes, AutoCAD uses the most recently saved condition of your workspace.
How to Update Your Workspace 1. Make the necessary changes and position edits to your Ribbon. On the Status bar, click Workspace Switching, then click Save Current As.
In the drop-down list, choose the name of the workspace for the changes, then click Save. When you see the notice regarding replacing the workspace that already exists, click Replace. You will find this tip and a couple hundred other insights in The AutoCAD Workbench, available from Michael’s website, If you would like to submit a guest post please for details. Please enable JavaScript if you would like to comment on this blog.
Autodesk has abandoned its old classic workspace from AutoCAD 2015 and later versions but you can easily bring it back to its full glory with a few tweaks to your new AutoCAD software. You can restore the classic workspace in AutoCAD 2016 and 2017 versions (including 2015 version) using the tips mentioned in the article. Although I will also recommend you to embrace this change and move on with the new workspace but if you are still not comfortable enough with the change then read on to find the ways of restoring classic workspace.